
This method leans on King Arthur Baking’s “How to make your best grilled cheese yet”, a technique piece by staff writer Rossi Anastopoulo, along with the griddle-specific timing from King Arthur’s own Grilled Cheese with Apple and Arugula recipe. Both are published on kingarthurbaking.com, and together they cover the two things a griddle actually changes about grilled cheese: how evenly the bread toasts, and how you get the cheese to melt before the bread burns.
A griddle or flat-top grill is arguably a better tool for grilled cheese than a skillet, simply because you can cook several sandwiches at once on one steady surface instead of working through a single pan in batches – handy if you’re feeding a family rather than one person. But steady heat cuts both ways – a griddle that’s too hot will toast the outside long before the inside is warm enough to melt the cheese, which is the main problem King Arthur’s tips are built to solve.
Spread the Outside – and the Inside
King Arthur’s baker PJ Hamel, quoted in the guide, makes the case for mayonnaise over butter on the exterior: mayo, she says, “spreads easily, covering every square centimeter of bread.” It also browns more evenly than butter and adds a slight tang. The less obvious tip is to butter or mayo the inside faces of the bread too, then toast both sides on the griddle before you add the cheese. That head start means the bread is already warm when the sandwich goes back together, so the cheese has less work left to do.
Set the Heat Once, Not Twice
For a griddle specifically, King Arthur’s own Grilled Cheese with Apple and Arugula recipe gives real numbers rather than a vague “medium heat”: heat an electric griddle to 350°F (about 175°C, our conversion), then toast the sandwiches for 5 minutes on each side. That recipe finishes the sandwiches in a 350°F oven for another 5 minutes so the center fully melts, which is one solution to slow melting – but the more practical griddle-only fix, per the technique guide, is covering the sandwiches with a lid or dome while they cook. Trapped heat melts the cheese faster than the griddle surface alone, so you’re not stuck choosing between a burnt crust and a cold center.
Slow Down
The guide’s last tip is really about patience: keep the heat low enough that the bread colors gradually, since a hot griddle can look “done” from the outside well before the cheese inside has caught up. Checking one sandwich by lifting a corner with a spatula is a better test than judging by time alone, especially the first time you’re using a given griddle’s actual surface temperature.
Bread and Cheese Choices That Actually Matter
King Arthur’s tips also flag two ingredient choices worth making deliberately rather than grabbing whatever’s on hand. First, a sturdier sandwich loaf with straight sides cuts into even, symmetrical pieces, which matters more than it sounds like it should when you’re serving a group. Second, a cheese that’s already flecked through the bread – their guide points to a cheddar-studded loaf as an example – effectively doubles the meltiness without doubling the filling. Neither is required for a good griddle grilled cheese, but both push a basic version toward a better one.
Putting It Together on the Griddle
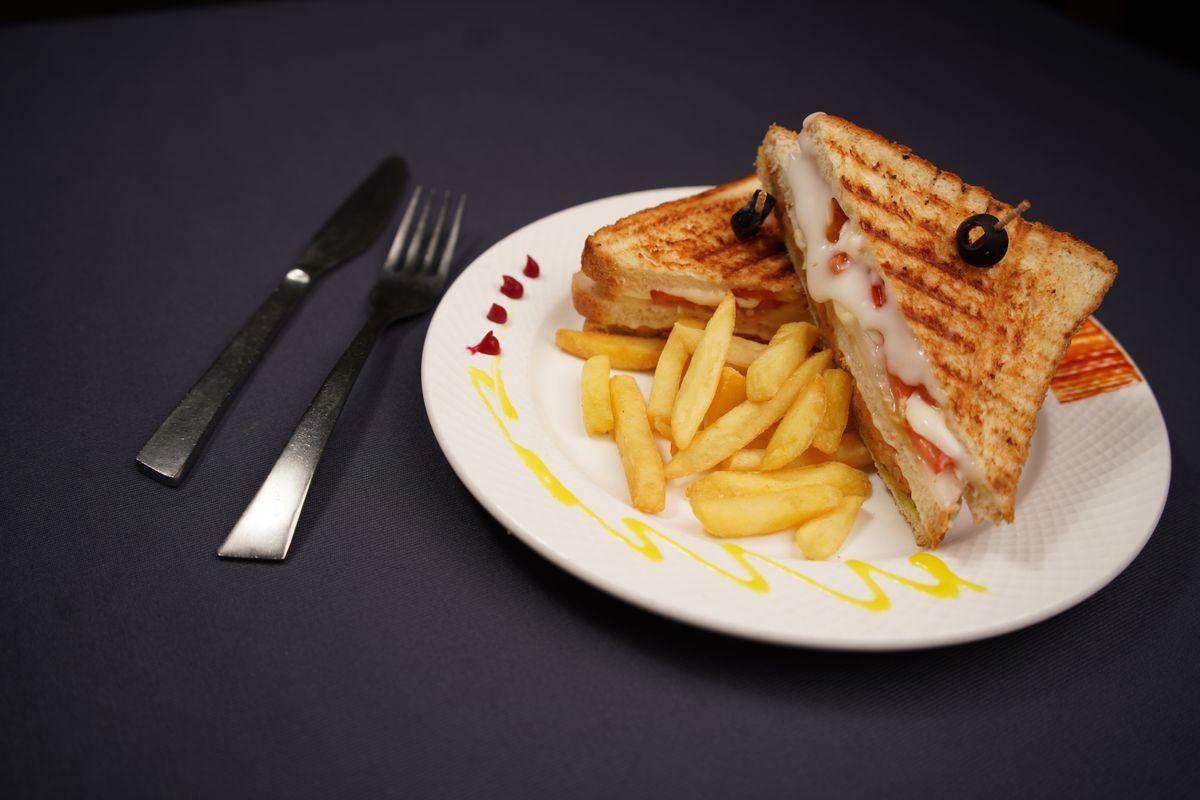
In practice: butter or mayo both sides of each bread slice, toast them plain on a 350°F griddle to get a head start, layer in the cheese, close the sandwich, and finish under a lid until the cheese is fully melted rather than just the surface. Slice on the diagonal and serve warm – the arugula recipe notes this is when the sandwich’s contrast between crisp exterior and soft, melted interior is at its best. None of this requires special equipment beyond a spatula and something to cover the sandwiches with, which makes it an easy one to repeat on a griddle you already use for pancakes or burgers.
Keep reading
- Grilled Flatbread on Gas or Charcoal: King Arthur Recipe
- Grilled Quesadillas, Done the Simple Weber Way
- Weber’s Ham and Egg Breakfast Sandwich on the Griddle
- Weber’s Grilled French Toast, Step by Step